
From Swatch to Stitch: How Status Apparel DC Makes Fabric, Color, and Embroidery Decisions
- Gabe (@MrMassalley)

- May 28
- 3 min read
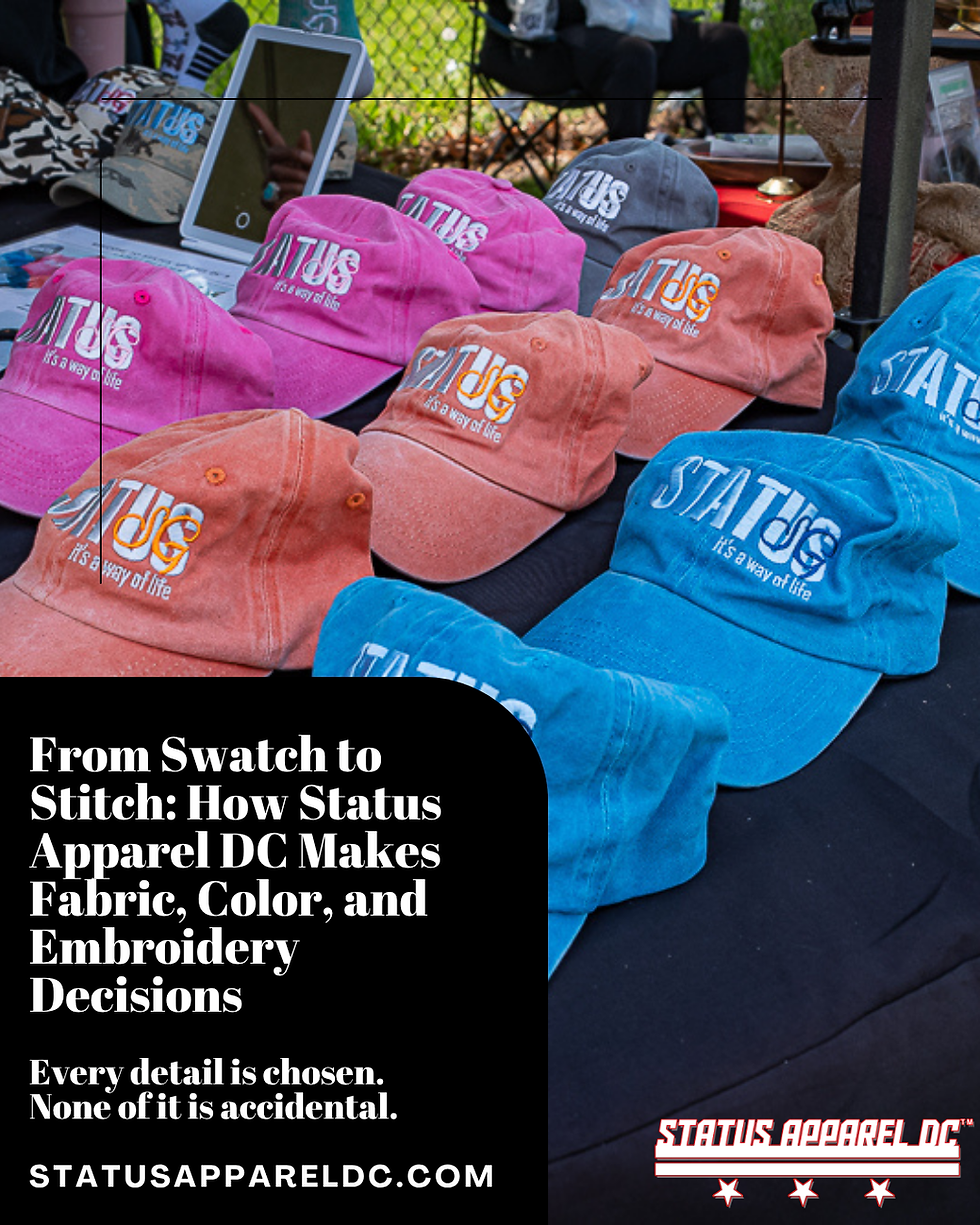
Most people see the finished product. They don't see the process that got there.
Before a Status Apparel DC garment goes into production, it goes through rounds of decisions that determine everything from how the fabric moves to how an embroidered graphic holds its shape after fifty washes. This post covers three of those decisions — fabric, color, and embroidery — and why each one matters more than it might seem.
Choosing the Fabric
Not all fabric is the same. And not all fabric is honest about what it is until you're holding a swatch in your hands.
We source and evaluate physical swatches before committing to any material.
What we're assessing:
Weight — does it feel substantial without being stiff?
Drape — how does it fall, move, and behave on a body?
Recovery — does it bounce back after wear, or does it start to lose shape?
Hand feel — the tactile experience, which no spec sheet fully captures
A fabric that looks right on paper can fall apart on feel. That's why this step can't be skipped or delegated to a spec sheet.
Color and Wash Selection
Color is more complicated than picking a shade.
For garments, we're selecting the actual dye lot, wash treatment, and finish — not just a hex code. Two fabrics can read identically on a screen and look completely different in person based on how they take color.
What we evaluate:
How the colorway holds under different lighting (natural, indoor, studio)
Whether the wash treatment affects fabric structure or softness
How the color interacts with graphics and embroidery placed on top of it
How it ages — does it fade evenly, or does it break down in patches?

Our royal blue colorway is a good example. That specific shade was chosen because it reads bold in person without going too saturated, and it holds up visually next to our branded tape detail and white chest graphics. That balance doesn't happen by accident.
Embroidery: Concept to Finished Stitch
Embroidery is where a lot of brands underinvest — and where it shows.
Our process:
Start with a graphic concept
Develop a digital mockup for placement and proportion
Commission a stitch sample — a physical test on actual fabric
Evaluate density, thread color, raise, and edge definition
Revise if needed
Confirm measurements and approve for production
The stitch sample is the critical step most people don't know exists. A design that looks clean as a digital file can look muddy when converted to thread if the density is wrong, or if the stitch direction fights the graphic's shapes. We don't approve anything until we've seen it sewn.
Placement also matters as much as the embroidery itself. A chest graphic sits differently depending on garment size, seam placement, and how the fabric behaves when worn versus laid flat. We measure and confirm these specs separately from the graphic approval — they're two different checkpoints.
Why This Level of Detail Matters
These aren't steps we added to tell a better story. They're steps we added because skipping them produces worse products.
Fabric that wasn't properly evaluated wears differently than expected. Colors that weren't tested in context don't read the way you intended. Embroidery that wasn't sampled looks cheap on a garment that cost real money to produce.
Every decision in this process is downstream from the same principle: we'd rather spend more time before production than deliver something we can't stand behind after it.
→ Next in the series: The evolution from heat press to manufacturer partnerships — and what we learned along the way.


Comments